Introduction[]
If your Hard Disk is damaged and your drive as already passed out of warranty, you may want to use these instructions for replacing the drive.
These instructions are useful for other purposes such as extract Hard Drive in case HD firmware needs to be upgraded or if you want to increase HD capacity swaping original one by other with higher size.
Base removal[]
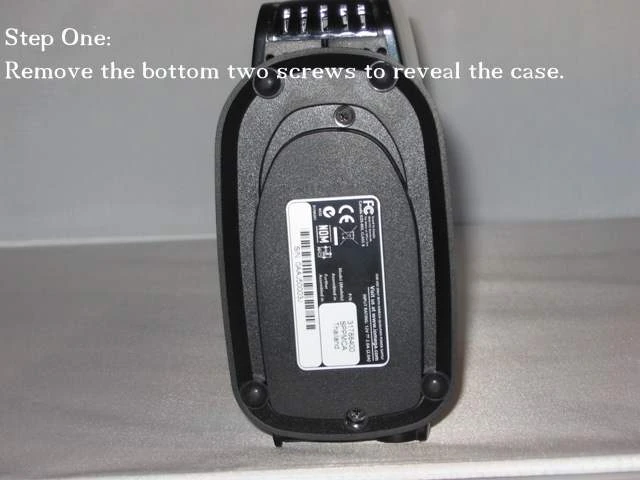
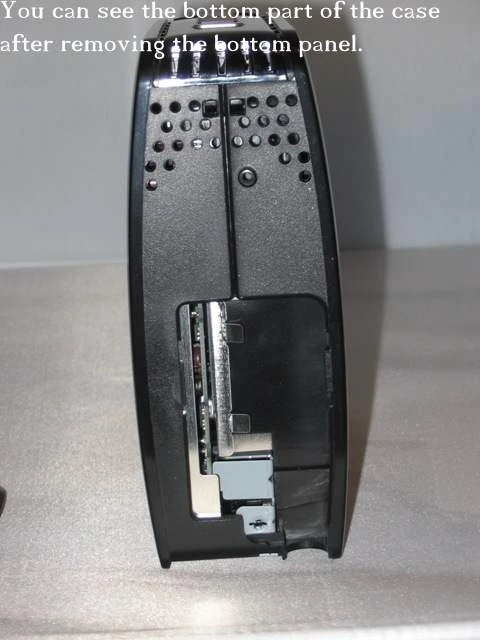
- Remove the bottom screws of the base plate to reveal the front display panel's push-in tabs:
Front Display panel removal[]
- Remove All screws on the backside that are black. You will need to remove the small screw near the security tape.

Black Case removal[]
Warning: This will void your warranty if do any of the actions listed. Even following the directions carefully can result in permanent damage to your unit due to unexpected complications or drive differences. If you make these changes, you do so at your own risk. You should always make a backup of any files you don't want to lose.
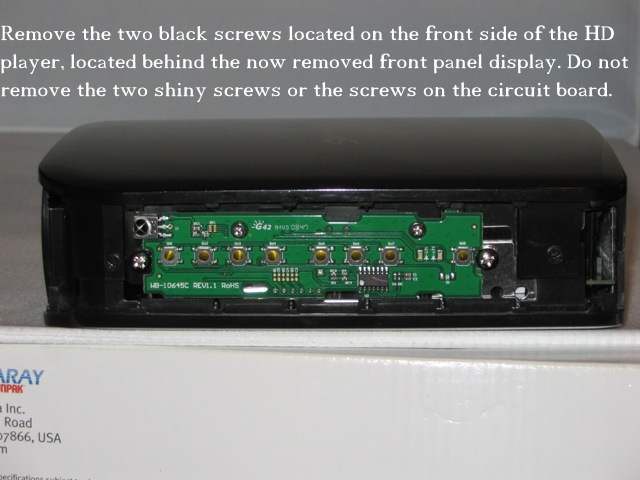
- Remove the two black screws that hold the black case together. These black, plastic pieces are tabbed together so you must push them in just a tad to break them loose.

Hard Drive removal[]
- Remove the hard drive, shiny screws, located on the front side of the protective shielding.


- Remove the other hard drive screw located on the other side (this is near the front panel display circuitry board - if you haven't done so yet, do it now.

- Remove the hard drive by pushing/pulling it out using the notch/slot in the corner of the hard drive. It might not want to pop out easily, but it will. Just make sure you removed all screws (shiny silver ones) that are used to hold the hard drive in place.

